Getting Started Interview
Getting Started Interview
When you first create a new Volgistics account, or after you've cleared an existing Volgistics account, you'll be asked to complete a short Getting Started Interview the first time you login. This interview helps you get a head-start customizing Volgistics to suit your organization's volunteer tracking needs.
The interview asks you a series of questions about your organization and the kinds of volunteer information you track. Volgistics initially configures your account based on the answers to these questions. You can always change these options later if you choose to, and your answers to these questions will not limit your access to any Volgistics features. Because of this, you don't need to worry if you're not sure of how to answer a question. You'll be able to update your account set up choices later.
This help topic explains more about each of the questions you're asked during the interview.
Tell Us More About You and Your Organization
Add the name of the Administrator who will be in charge of the account. Note! If you are completing the interview because you cleared your account, you will not be asked to fill in the information about the name of the Administrator.
The Administrator can add additional System Operator logins later. We also collect information about your organization's address, how you heard about Volgistics, and what activity best describes your organization.
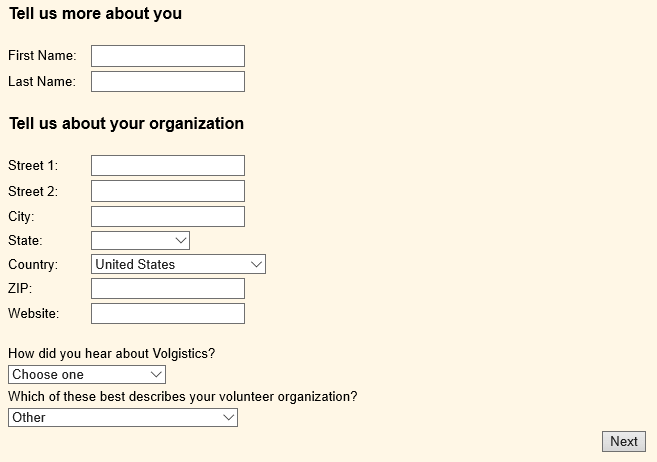
Volgistics only uses this information to contact you and keep statistics regarding the types of organizations who use our product. All information is protected by our strict Privacy Policy. We will never sell your information, and we will never share the information provided with others without your consent.
The dropdown list for organization descriptions has the following options. Choose Other if none of the options describes your organization well.
- Animal shelter
- Aquarium or zoo
- Church
- College or university
- Community kitchen
- Corporate community service
- Disaster relief
- Emergency management
- Environmental organization
- Food bank
- Hospice
- Hospital or medical center
- Historic site
- Library
- Meal delivery
- Multi-service agency
- Museum
- Parks and recreation
- Performing arts
- Political campaign
- Public safety
- Retirement
- School
- Senior Corps project (RSVP, FGP)
- Special event
- Social service agency
- Volunteer center
- Other
You can update your organization's name and address later if necessary.
Let Us Know If You'd Like Verified First to Contact You
Volgistics integrates with Verified First, an award-winning background screening provider. If your organization is in the United States or Canada, you'll see a page where you can tell us you'd like a Verified First representative to contact you to discuss background screening options.
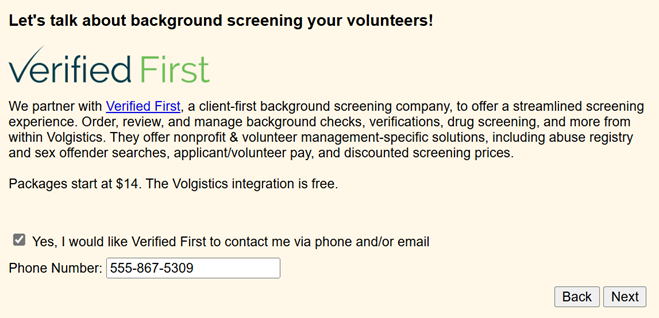
You are not under any obligation to use Verified First for background screenings. You're free to use whatever provider suits your needs the best, and your choice will not impact the monthly service fees you pay to use the system. We think Verified First is a great choice, though, because it provides background screening with a touch of a button.
Didn't See Verified First Page?
If you signed-up for your Volgistics account with a public email address (such as @gmail.com, @yahoo.com, or @hotmail.com), you will not see the Verified First option. Don't worry! You can still use Verified First to perform background screenings for the volunteers who serve at your organization. Just contact them directly by calling 844-332-5690, or by filling out the form on their website.
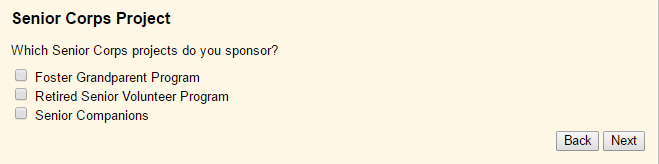
Special Options for Senior Corps Project (RSVP, FGP) Organizations
If you selected Senior Corps project (RSVP, FGP) from the dropdown list of organization types, the next screen asks you to select the type(s) of Senior Corps projects you sponsor. Select the project(s) that apply to your organization. If you selected a different type of organization, you will not see this screen.
Dates and Times
Choose your organization's time zone and date format preference.
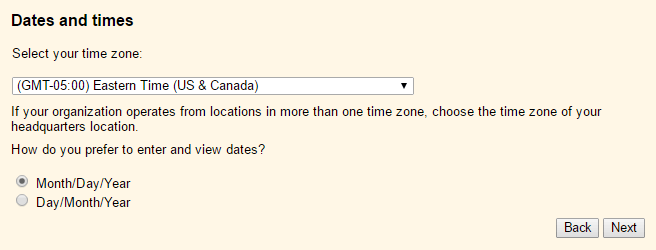
If your organization operates from locations in more than one time zone, choose the time zone of your headquarters location (you can set time zones for individual System Operators later).
How do you prefer to enter and view dates?
Choose Month/Day/Year if you prefer to work with dates in a month-day-year format. For example, The 9th day of March 2020 would be entered and displayed as 03/09/2020. This is the date format most commonly used in the United States.
Choose Day/Month/Year if you prefer to work with dates in a day-month-year format. For example, the 9th day of March 2020 would be entered and displayed as 09/03/2020. This is the date format most commonly used in the UK and Europe.
If you ever need to modify the time zone or date format you selected after you've completed the Getting Started Interview, these can be changed from Setup in your account.
Fiscal Year
A fiscal year is a regular twelve-month cycle used by an organization for budgeting or fiscal reporting. If your organization follows a fiscal year that is different from the calendar year, choose the month in which your fiscal year begins.

Many organizations have fiscal years that are the same as the calendar year (January 1st through December 31st) but others have fiscal years that differ from the calendar year, such as July 1st through June 30th.
Select January if your fiscal year is the same as the calendar year, or if you're not sure what the fiscal year is. If your organization has multiple fiscal years, choose one of them in this step.
If you track volunteer service, this setting affects the time frame used to calculate year-to-date (YTD) service statistics. YTD service is tracked from the beginning of the fiscal year until the present date instead of from the beginning of the calendar year to the present date when you set up a fiscal year.
If you ever need to modify the fiscal year used for your account after you've completed the Getting Started Interview, this can be changed in your account's Statistics settings.
Special Options for Special Event Organizations
If you selected Special event from the dropdown list of organization types, the next screen asks if your event occurs during a certain date range or is year round. If you enter a date range, it will configure the Availability settings you will set up next to be for specific dates instead of just general settings. If you selected an organization type other than Special event from the dropdown list of organization types, you will not see this screen.

If you need to modify the selections you've made in this portion of the Getting Started Interview after completing it, these changes can be made in your account's
Availability
If you choose to track volunteer availability in Volgistics (the times individual volunteers are generally available to serve) there are several availability tracking formats. Your selection here will initially configure Volgistics for tracking volunteer availability in the manner that best suits your needs.
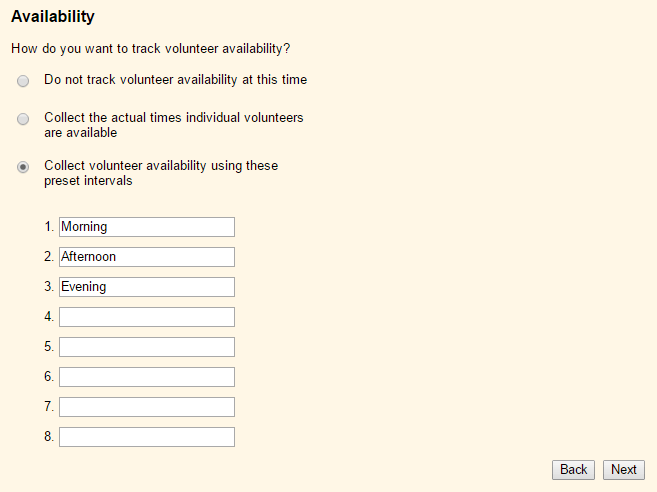
Choose one of these options:
Do not track volunteer availability at this time
Check this option if you do not need to track volunteer availability right away. If you choose not to track volunteer availability at this time, you can always turn on availability tracking later.
Collect the actual times individual volunteers are available
If you choose to track availability by collecting actual times individual volunteers are available, you'll have fields for recording the times each volunteer is available, each day of the week. For example, one volunteer's availability might be 8:15 am through 4:30 pm every Monday and Wednesday, while another's might be from 5:30 pm to 10:00 pm every weekday. This method involves more data entry, but may be more precise. However, if you select actual times you will not be able to query the database to find volunteers with certain selections. This is only available with preset intervals.
Collect volunteer availability using these preset intervals
If you choose to track availability using preset intervals, volunteers show their availability by choosing the intervals they're generally available for each day of the week. All volunteers use the same intervals to show their availability. For example, one volunteer's availability might be Mornings and Afternoons every Monday and Friday, while another's might be Evenings every weekday. This method involves less data entry, but may be more general.
If you choose this option, enter up to eight availability intervals. For example, Morning, Afternoon, Evening. Or, 8:00 to 10:00 am, 10:00 am to noon, Noon to 2:00 pm, and 2:00 to 4:00 pm.
If you'd like to make modifications to your account's Availability settings after completing the Getting Started Interview, you can change these in Setup.
When Do Volunteers Typically Serve?
Volgistics uses your answers to the questions in this section to initially configure volunteer scheduling features.
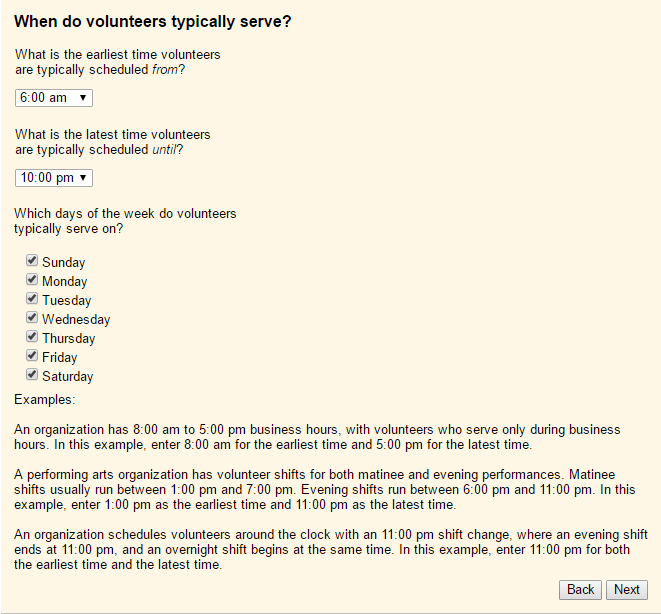
What is the earliest time volunteers are typically scheduled from?
If volunteers do not usually serve around-the-clock, choose the earliest time of the day volunteers typically serve. If volunteers serve around the clock, choose 12:00 am here.
What is the latest time volunteers are typically scheduled until?
If volunteers do not usually serve around-the-clock, choose the latest time of the day volunteers typically serve until. If volunteers serve around the clock, choose 12:00 am here.
Which days of the week do volunteers typically serve on?
If volunteers might serve any day of the week, check every day. If there are any days of the week on which you never schedule volunteers, un-check that day.
You can make changes to the earliest and latest times you can schedule volunteers after completing the Getting Started Interview by modifying your account's Hours of Operation in the Scheduling settings. After finishing the Getting Started Interview, you can also modify which days of the week volunteers typically serve on in your account's
Volunteer Profiles
Check the kinds of personal information you would like to track for your volunteers. You can add additional fields for other kinds of profile information from the Setup menu once you finish the Getting Started interview.
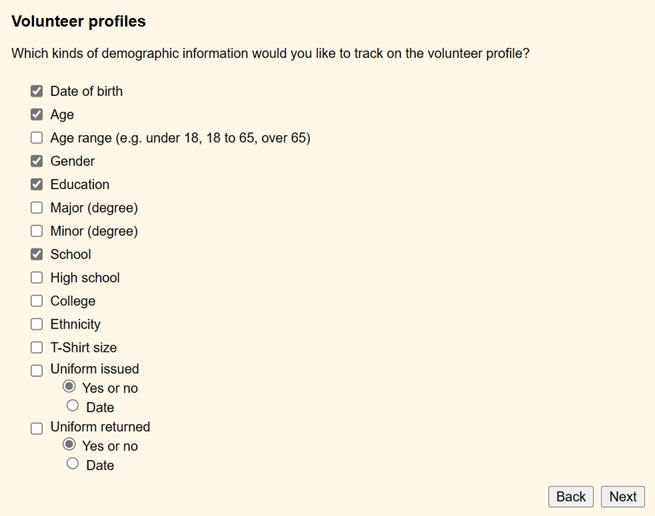
If you'd like to make modifications to any of these fields or create new fields after completing the Getting Started Interview, this can be accomplished in your account's Field Options.
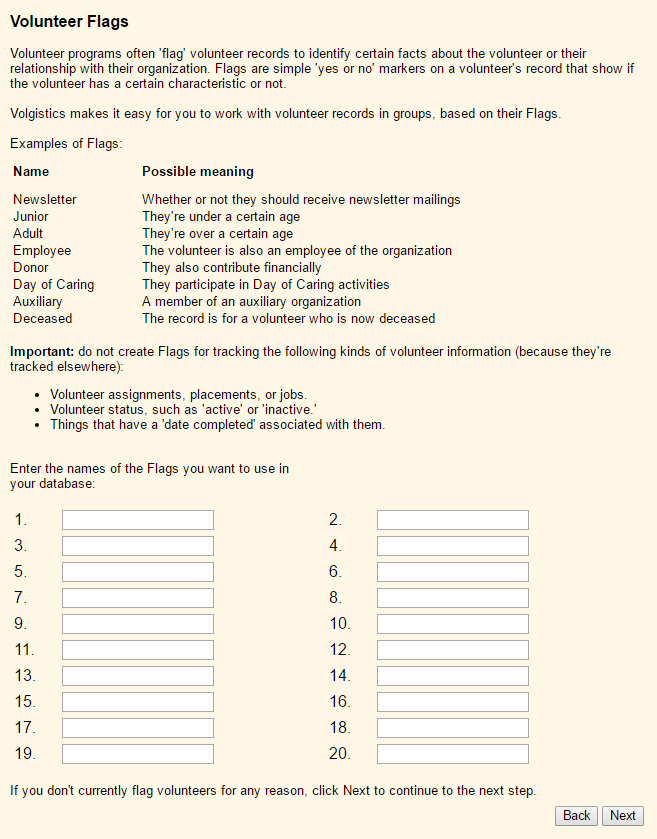
Volunteer Flags
Volunteer programs often flag volunteer records to identify certain facts about the volunteer or their relationship with their organization. Volgistics makes it easy for you to work with volunteer records in groups, based on Flags.
Examples of Flags
| Name | Possible meaning |
|---|---|
| Newsletter | Whether or not they should receive newsletter mailings |
| Junior | They're under a certain age |
| Adult | They're over a certain age |
| Employee | The volunteer is also an employee of the organization |
| Donor | They also contribute financially |
| Day of Caring | They participate in Day of Caring activities |
| Auxiliary | A member of an auxiliary organization |
| Deceased | The record is for a volunteer who is now deceased |
Don't Add Flags For These!
Important: Volgistics includes features to track many standard kinds of information about volunteers. Because they can be tracked better elsewhere, you should not create Flags for tracking the following kinds of volunteer information:
- Volunteer assignments, placements, or jobs
- Volunteer Status, such as Active or Inactive
- Things that have a date completed associated with them (Checklists)
Adding Flags
Enter the names of the Flags you want to initially use in your database. You can always add more Flags later. If you want to establish Flags later, just leave this page blank and click the Next button.
You can add new Flags and/or modify the Flags you created during the Getting Started Interview in your account's Field Options.
Mutually Exclusive Volunteer Flags
This option appears if you entered any Flags in response to the previous section.
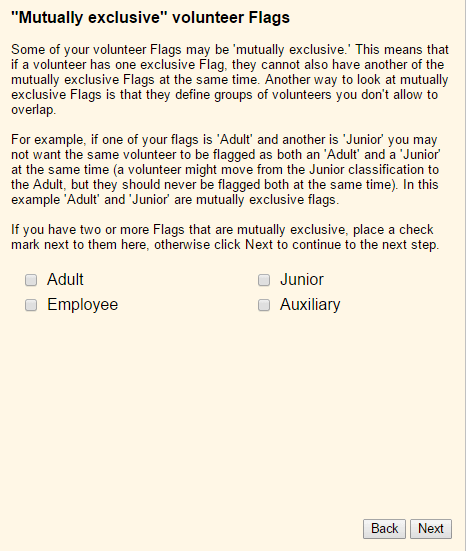
Some of your volunteer Flags may be mutually exclusive. This means that if a volunteer has one exclusive Flag, they cannot also have another of the mutually exclusive Flags at the same time. Another way to look at mutually exclusive Flags is that they define groups of volunteers you don't allow to overlap. These will become volunteer Types when you complete your interview.
For example, if one of your flags is Adult and another is Junior, you may not want the same volunteer to be flagged as both an Adult and a Junior at the same time (a volunteer might move from the Junior classification to the Adult, but they should never be flagged as both at the same time). In this example, Adult and Junior are mutually exclusive flags.
If you have two or more Flags that are mutually exclusive, place a check mark next to them here. Otherwise, click Next to continue to the next step.
The options you select to be exclusive Types can be modified and new Types can be created in your account's Field Options.