Update Cell Format in Excel Spreadsheet File
Many of the Volgistics report formats allow you to create reports as Microsoft Excel spreadsheet files. This help topic explains how cells in Microsoft Excel spreadsheet files you create in Volgistics are formatted, and how to change cell formatting to suit your needs using Microsoft Excel.
Each of the cells in an Excel spreadsheet has a specific cell format. A cell's format affects the way the information in the cell is displayed, and whether or not you can perform calculations on the information in the cell. For example, cells formatted as Text or General cannot be included in calculations until their format is changed to Number in Excel.
How Volgistics Sets Cell Formatting
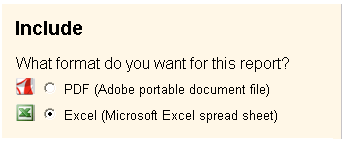
Volgistics reports (other than Excel Spreadsheet reports) are designed primarily for producing printable PDF files, however most can also be used to produce Excel spreadsheet files by choosing Excel on the Include page when you run the report.
When you choose to produce Excel files, all of the cells in the Excel file will initially have the General cell format. If you would like to perform calculations in Excel files you produce using these reports, use Microsoft Excel to set the desired cell formatting for the cells you would like to include in your calculations.
Save the Excel File to Your Own Computer
Before you can make changes to Excel files you create in Volgistics (including changes to cell formats) you must save a copy of the file from the Volgistics Mailbox to your own computer. If you have not already done so, save a copy of the Excel file you created in Volgistics to your own computer like this:
- Choose Mailbox from the menu.
-
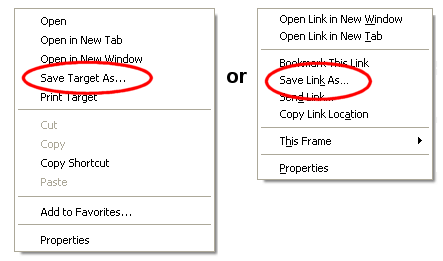
On the In Box tab, right-click on the name of the report and then choose Save target as (or Save link as) from the pop-up menu.
-
Use the Save As window to save a copy of the file to your desktop or to a specific folder (remember where you save the file and the file name so you can find it later).
Once you save the file to your own computer, start Microsoft Excel and open the file:
- In Excel, choose File from the menu and then select Open.
- Using the Open window, locate the file you saved to your own computer.
- Click the Open button once you've located and selected the Excel file.
Format Cells as Numbers
Change an Entire Column to the Number Format
If you want to perform calculations on the data in specific column, it's usually easier to change the cell formatting for the entire column (rather that changing each cell individually). To change cell formatting from text or general to number for an entire column:
-
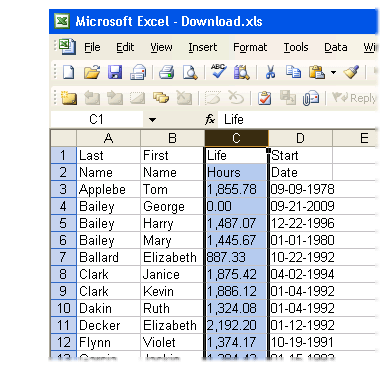
Select the entire column by clicking on the column heading. Be sure to select only a single column as shown here (selecting more than one single column will lead to problems):
-
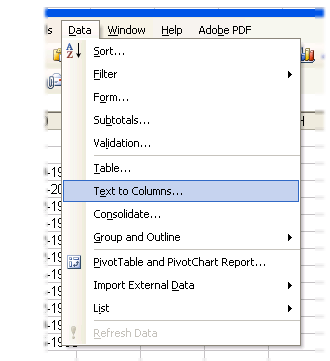
Select the Data menu and choose Text to Columns.
-
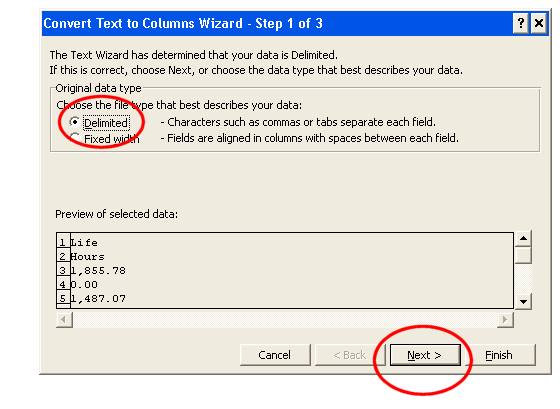
In the Convert Text to Columns Wizard Step 1 of 3 window, choose Delimited and then click the Next button.
-
In the Convert Text to Columns Wizard Step 2 of 3 window, click the Next button.

-
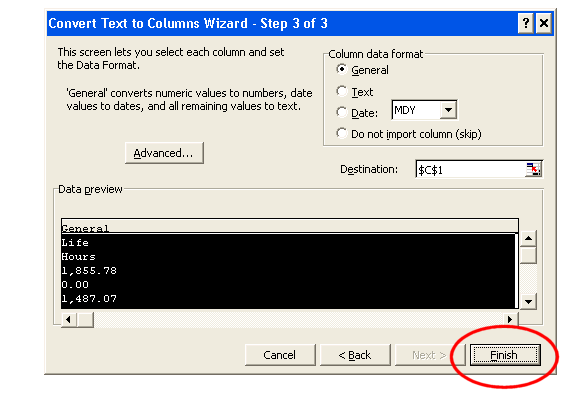
In the Convert Text to Columns Wizard Step 3 of 3 window, click the Finished button.
The numeric data in the selected column will now be converted to the number format (you should see any numeric values in the selected column shift from left alignment to right alignment, indicating that they have changed to the number format).
Change a Single Cell to the Number Format
You can also change the formatting on individual cells from text or general to number like this:
- Double click on the cell.
- Press the Enter key.
The numeric data in the cell should change to the number format.
Excel Versions
There are many different versions of Microsoft Excel in use, and the appearance of your version of Excel may differ somewhat from the Excel program images shown in this help topic. The steps for formatting cells in Excel are fundamentally the same for all versions of Excel, however.
Additional help using Microsoft Excel is available from Microsoft, and many other sources.